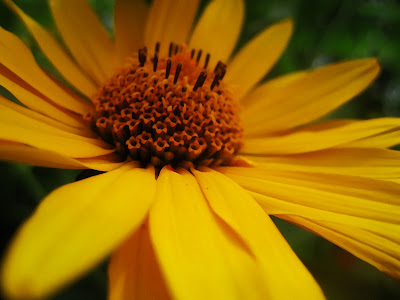
My tutorial was water colors. The first thing I did was create three copies of the Background layer. This gave me four layers. On step three with the top two layers temporarily hidden from view I picked on "Layer 1" in the Layers palette to. On the next step the thing I did was simplify the image, and then using Photoshop's "Cutout" filter. With "Layer 1" selected I went up to the Filter menu at the top of the screen, choose Artistic, and then choose Cutout. Then I selected "Layer 1"then went up to the Blend Mode options. Then still in the Layers palette, then I’m going to add some texture to our image at this point. Then I went back up to the Filter menu at the top of the screen, I selected Artistic once again, and this time I choose Dry Brush. When the Dry Brush filter's dialog box appears i set the Brush Size to 10, and the Texture option to 3. With "Layer 1 copy" still selected I went up to the Blend Mode options once again in the top left of the Layers palette, I went on the down-pointing arrow to the right and went to "Normal" and changed the blend mode for the layer to Screen. Just as I did with Layer 1. With the top layer selected and visible again inside the document I went back up to the Filter menu at the top of the screen this time I chose Noise, and then I chose Median. The Median filter will remove even more detail from the image, and the nice thing about it is that it does so without blurring the image so edges remain well defined. When the Median Filter's dialog box appears, I set the Radius value at the bottom to 12 pixels. Then the last step, To complete the effect with the top layer still selected I went up to the Blend Mode options in the top left of the Layers palette I clicked again on the down-pointing arrow to the right of the word "Normal" and changed the layer's blend mode to Soft Light.
No comments:
Post a Comment